


Aluminum repair techniques are vital for restoring automotive metal's integrity and aesthetics. Essential tools and materials include shears, hammers, safety gear, aluminum sheets, glues, and protective gear. A meticulous process involves assessment, preparation (cleaning, etch priming, sanding), filling and polishing, followed by coating for durability and protection. These techniques are ideal for bumper repair, car body repairs, and collision repairs, ensuring professional, long-lasting results.
Looking to master aluminum repair techniques in your shop? This comprehensive guide covers everything you need to know. From understanding common aluminum damage like dents, scratches, and pitting to identifying essential tools and materials, we’ve got you covered. Learn a step-by-step approach to effective aluminum restoration, ensuring your projects emerge flawless. Discover expert tips and tricks for achieving professional results right in your own workspace.
- Understanding Aluminum Damage and Common Issues
- Essential Tools and Materials for Repair
- Step-by-Step Guide to Effective Aluminum Restoration
Understanding Aluminum Damage and Common Issues
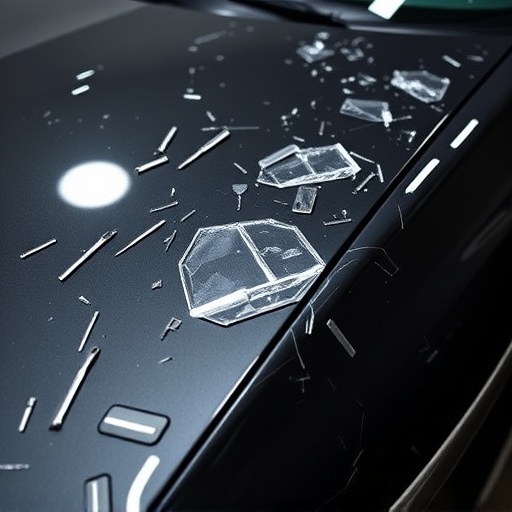
Aluminum, a lightweight and durable metal, is commonly used in various industries, including automotive repair. However, over time, aluminum components can develop issues due to environmental factors, improper handling, or accidents. Understanding these damage types is crucial for effective aluminum repair techniques. Common problems include dents, scratches, and cracks, which can range from minor aesthetics to structural integrity concerns.
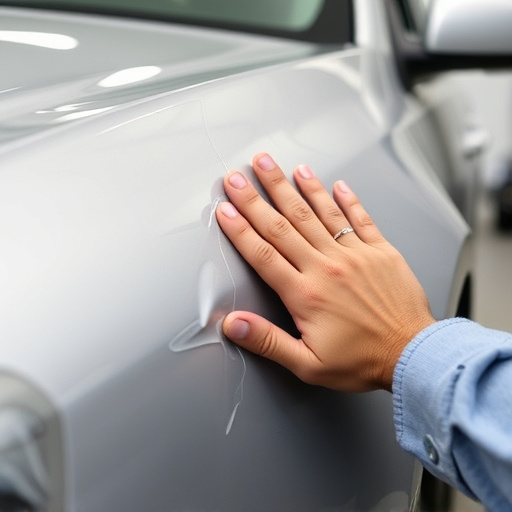
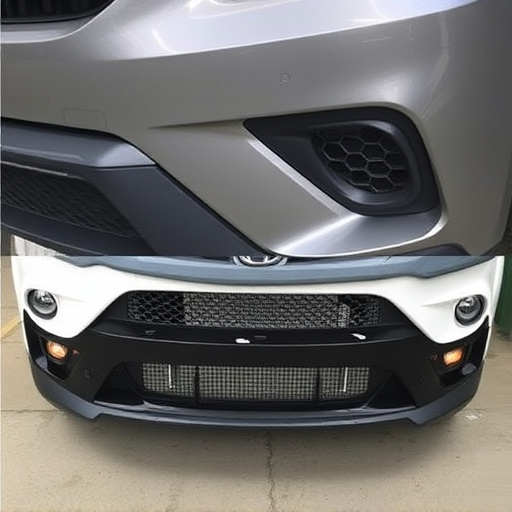
Dents, in particular, are a frequent issue in automotive repair, whether from impact or during manufacturing. Scratches and minor dings can also affect the overall look of aluminum parts. Cracks, though more severe, might occur due to sudden temperature changes or stress. Efficient dent removal and repair techniques are essential to restore the metal’s integrity, ensuring structural soundness and maintaining its sleek appearance.
Essential Tools and Materials for Repair
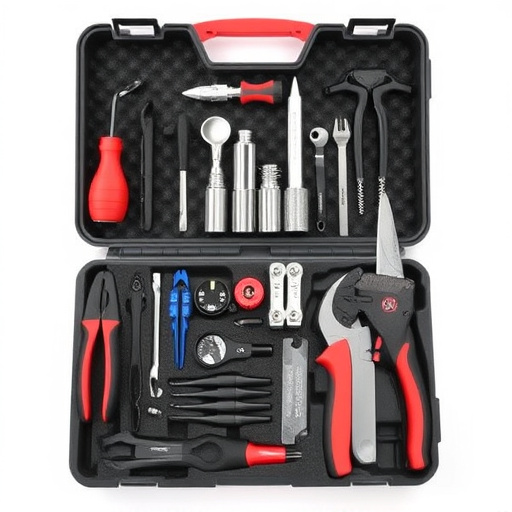
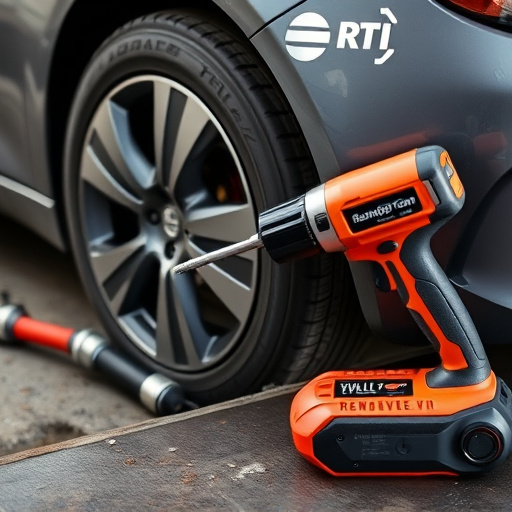
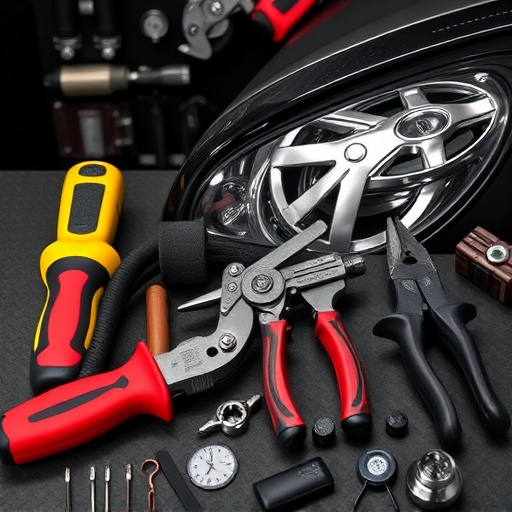
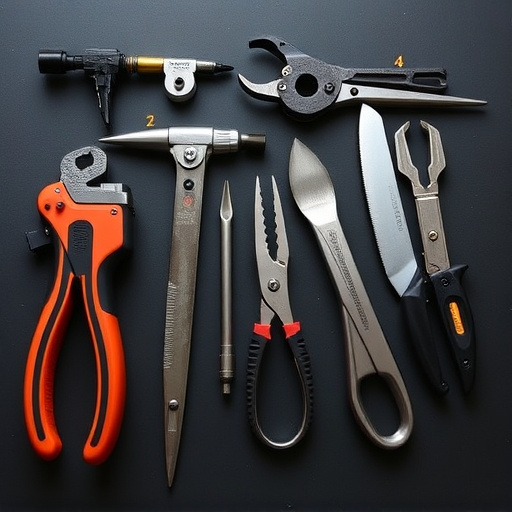
When it comes to mastering aluminum repair techniques, having the right tools and materials is paramount. For any serious workshop, a set of high-quality shears or cutters designed specifically for metal is an absolute must. These tools allow for precise cuts and shaping of aluminum components, which is crucial in car dent repair and collision repair center settings. Additionally, a robust set of hammers, both dead blow and clawed, facilitates bending, straightening, and smoothing of aluminum panels, essential in mercedes benz repair processes.
Beyond these foundational tools, a variety of other materials are critical. This includes various grades and types of aluminum sheet and extrusions for replacement parts, as well as specialized glue and bonding agents designed to create strong, lasting bonds on metal surfaces. Safety equipment like goggles and gloves cannot be overlooked, ensuring the safety of the repairperson during the intricate process of aluminum repair techniques.
Step-by-Step Guide to Effective Aluminum Restoration
Restoring aluminum to its former glory involves a meticulous process that combines skill and precision. Here’s your step-by-step guide to achieving effective aluminum restoration, leveraging common aluminum repair techniques available in most shops:
1. Assessment: Begin by thoroughly examining the damaged area. Identify the extent of pitting, dents, scratches, or other imperfections. This initial step is crucial as it dictates the subsequent repairs and products required. For instance, a deep dent might necessitate a more intensive technique compared to minor scratches.
2. Preparation: Once assessed, prepare the surface by cleaning it with mild soap and water, ensuring all debris and contaminants are removed. After drying, apply an etch primer designed specifically for aluminum to create a roughened surface that promotes better adhesion of subsequent coatings. This is a vital step in achieving long-lasting results, especially when considering tasks like bumper repair or car body repair.
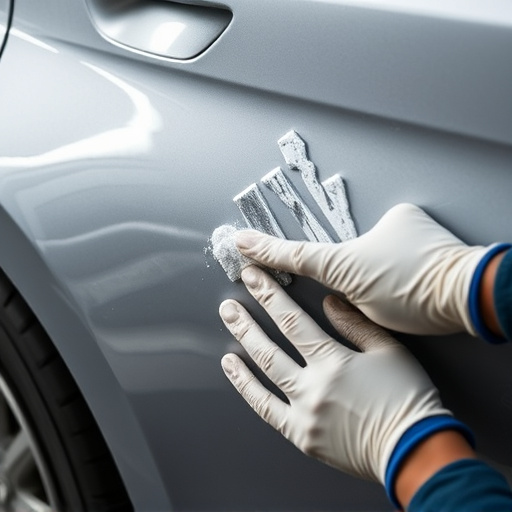
3. Filling and Sanding: Use an aluminum-specific filler to fill any dents or scratches, following the contours of the surface for a seamless finish. Allow it to dry completely before lightly sanding with fine-grit sandpaper (e.g., 320-grit) to smoothen out any imperfections. This step ensures a clean canvas for the final coat.
4. Polishing: For a vibrant, glossy finish, polish the restored area using a high-quality aluminum polish or compound. Follow the product’s instructions for application and buffing. This process fills fine scratches, enhances durability, and gives your repair an attractive, professional shine—ideal for showcasing that vehicle collision repair was successfully executed.
5. Coating: Finally, apply a topcoat suitable for aluminum to protect the restoration work. Choose between a clear coat, automotive paint, or specialized aluminum coating based on desired appearance and protection level. Ensure proper drying conditions and consider multiple thin coats for optimal results.
Aluminum repair techniques are a valuable skill set for any shop, offering effective solutions for common damage and restoration. By understanding the specific issues and arming yourself with the right tools and materials, you can master the art of aluminum repair. Following the step-by-step guide provided in this article ensures precise and efficient restoration, allowing you to transform damaged aluminum pieces into like-new conditions. Incorporating these techniques into your shop’s repertoire enhances your capabilities, catering to a diverse range of aluminum repair needs.