


Aluminum repair techniques vary based on alloy type and damage. Tools like mill files, wire brushes, sandpaper, safety gear, and specialized putty are essential for surface repairs. Advanced methods involve primers, high-quality paint, clear coating, and professional bodywork for severe structural issues, ensuring aesthetic preservation and increased vehicle value.
Aluminum, a lightweight and durable metal, is a common material in modern manufacturing. However, its unique properties also make it prone to specific damages like dents, scratches, and pitting. This comprehensive beginner’s guide delves into the world of aluminum repair techniques, offering an essential toolkit and step-by-step instructions for mending various issues. By understanding different aluminum types and mastering basic repair methods, you’ll be equipped to tackle common problems efficiently.
- Understanding Aluminum: Types and Common Damages
- Essential Tools and Safety Gear for Repair
- Step-by-Step Guide to Basic Aluminum Repair Techniques
Understanding Aluminum: Types and Common Damages
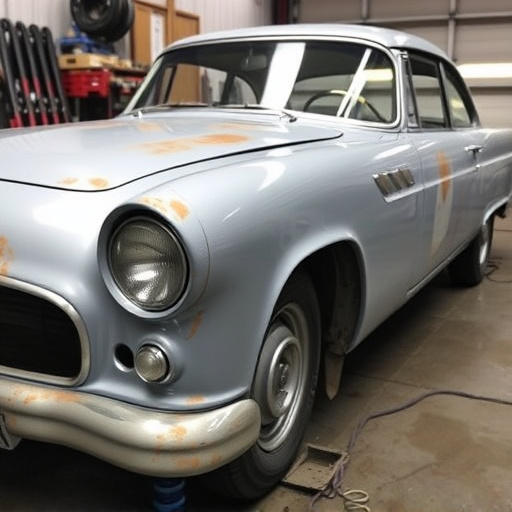
Aluminum is a versatile metal widely used in various applications due to its lightweight nature, excellent corrosion resistance, and high strength-to-weight ratio. When it comes to repairs, understanding the specific type of aluminum involved is crucial. Different alloys exhibit varying properties and require tailored repair techniques. For instance, automotive aluminum, such as that found in Mercedes Benz vehicles, often includes alloys like 6061 and 5083, known for their strength and durability.
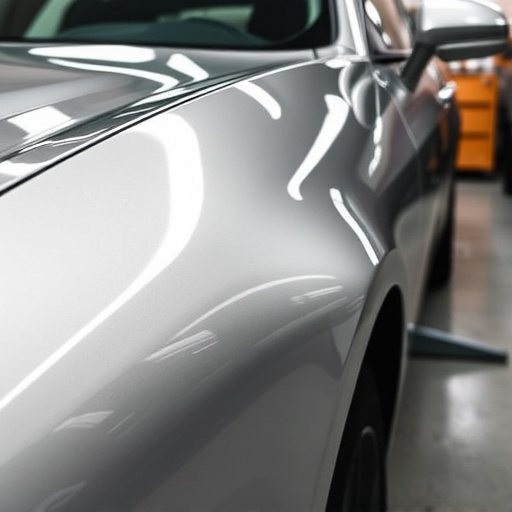
Common damages to aluminum range from surface scratches and dents to more severe issues like corrosion and structural failures. Surface repairs typically involve polishing and buffing to restore the metal’s finish, while deeper damage may require welding or specialized aluminum repair techniques. Vehicle paint repair is a meticulous process that often follows aluminum restoration, ensuring both aesthetics and longevity in applications like car repair services.
Essential Tools and Safety Gear for Repair

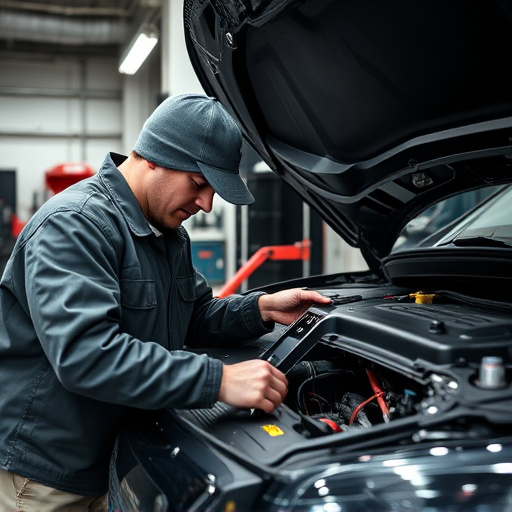
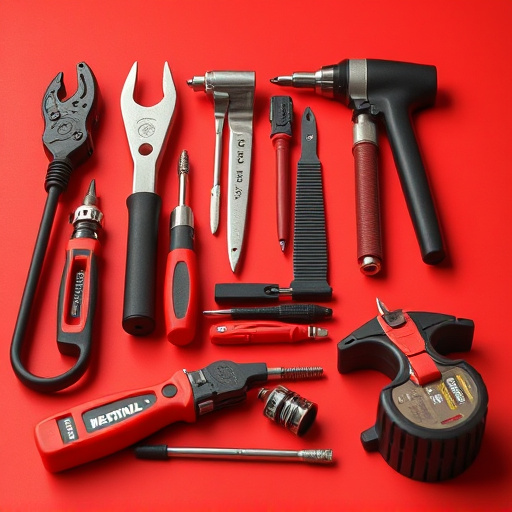
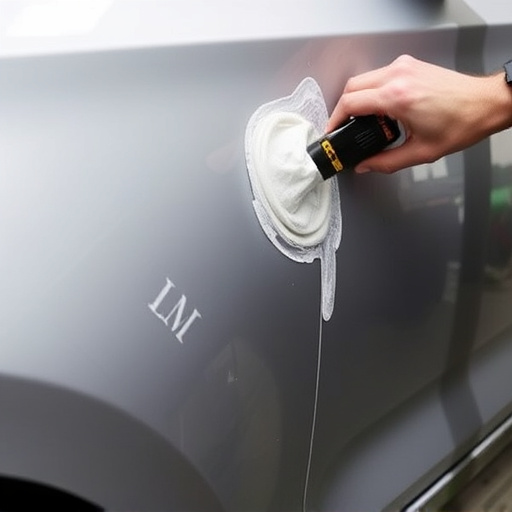
Before tackling any aluminum repair techniques, ensure you have the right tools and safety gear to make the process efficient and safe. For beginners, a basic set includes a mill file, wire brush, and a variety of sandpaper in different grits. These are essential for shaping, smoothing, and removing corrosion from damaged aluminum components. Safety glasses, work gloves, and a respirator mask are non-negotiable to protect against debris, chemicals, and potential fumes during the repair process.
Additionally, consider investing in an impact wrench for tightening and loosening bolts efficiently, and a grease gun for lubrication. For more complex aluminum repair jobs, such as frame straightening or collision repair services, you might need specialized tools like a metal jig or a roller stand to hold components securely while you work. Remember, the right tools make all the difference in achieving professional-quality results in your automotive repair services.
Step-by-Step Guide to Basic Aluminum Repair Techniques

Aluminum repair techniques are essential for maintaining and restoring vehicles with aluminum body parts. Here’s a step-by-step guide to help you get started:
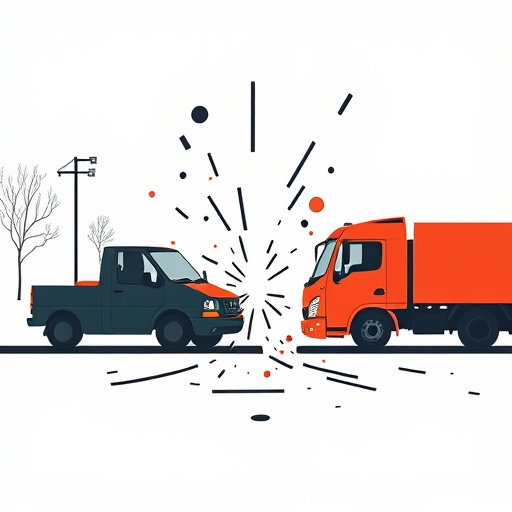
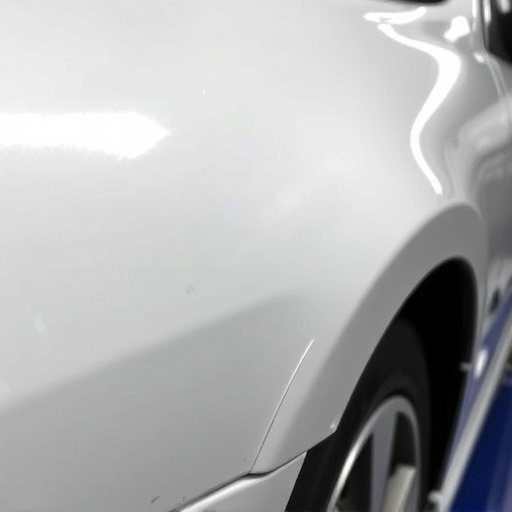
1. Assess the Damage: Begin by examining the damaged area. Identify the type and severity of the damage, such as dents, scratches, or cracks. Small dents can often be repaired at home using simple tools, while more extensive damage may require professional car bodywork services.
2. Prepare the Surface: Clean the damaged area thoroughly to remove dirt, grease, or loose debris. This ensures a clean surface for repair. Use a mild detergent and water, then dry it completely. For vehicle body shop professionals, this step might involve using specialized cleaning solutions and sandblasting for more severe cases.
3. Fill and Sand: Apply an aluminum repair putty or compound to the dented area, matching it closely with the surrounding surface. Allow it to dry according to the product’s instructions. Once cured, gently sand the repaired area until smooth, using progressively finer grits of sandpaper.
4. Prime and Paint: After sanding, clean the surface again to remove dust. Apply an aluminum-specific primer to ensure better paint adhesion. Let it dry thoroughly. Finally, use a high-quality paint designed for aluminum, matching the original color as closely as possible. Two thin coats are typically better than one thick layer.
5. Final Touches: Allow the paint to cure completely. Inspect the repair for any imperfections and touch up if necessary. For professional car bodywork services, this might involve a multi-step process including clear coating for added protection and a glossy finish.
Aluminum repair techniques are accessible to beginners with the right knowledge and tools. Understanding the various types of aluminum and common damage is the first step, followed by equipping yourself with essential safety gear. By mastering basic repair techniques outlined in this guide, you’ll be well-prepared to tackle minor aluminum repairs with confidence. Embrace these skills as a valuable asset for maintaining and restoring your aluminum items, both functional and aesthetically pleasing.